White Bean Chicken Chili
Makes 6 servings
2 teaspoons Coconut oil or Butter
1 lb. Diced cooked chicken – (Free Range)
1 Onion, Chopped
3 Cloves Garlic, Minced
4 Cups Chicken Stock
1 16 oz. Container of Salsa Verde
1 16 oz. Can diced tomatoes
1 7 oz. Can diced green chilies
½ tsp. Dried oregano
½ tsp. Chili powder
½ tsp. Ground cumin
2 15 oz. Cans white Beans ( or follow Germination, fermenting Directions listed below for a more digestible bean)
¾ cup frozen corn
Sea Salt and fresh ground black pepper to taste
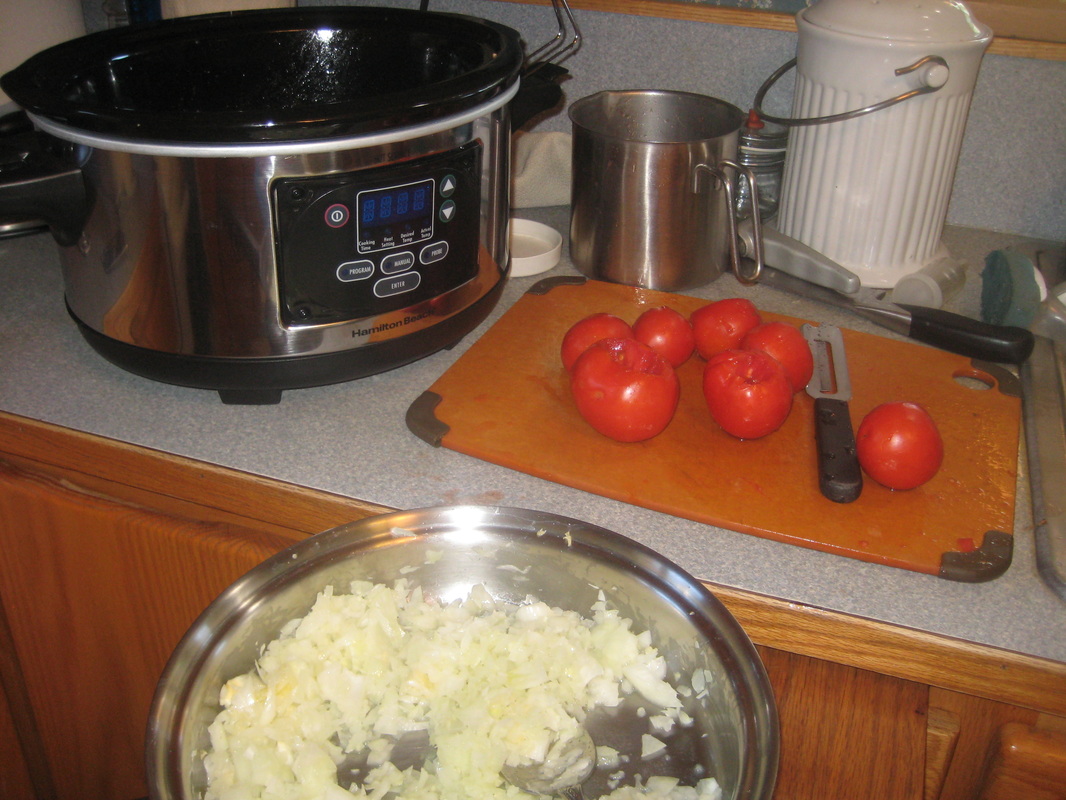
Heat Coconut oil or butter in a large stock pot. Saute onion and garlic until soft. Add stock, salsa verde, tomatoes, chilies, and spices. Bring to boil, let simmer for 10 minutes. Then add chicken, beans and corn; simmer 5 minutes. Add sea salt and pepper to taste.
Germination of Grains, Seeds, Legumes
All of these should be germinated in a 35% H202 (hydrogen Peroxide) Food Grade solution diluted to 3% (11:1 water to H202) .
Example: 5 ½ cups water to ½ cup 35% H202 or 2 ¾ cup water to ¼ cup 35% H202
Source for Purchasing this H202: Garden of Eden: http://www.dfwx.com/h2o2.htm
Soak times:
- 4 to 24 hours depending on the size and hardness of the grain.
- Lentils and Peas only need to be soaked for 4 to 6 hours.
- Garbanzo Beans – soak 4 to 5 hours.
- Hard Wheat varieties need 24 hours
- Softer Grains need 8-9 hours
- Large beans (kidney, navy) need 12 hour
Germination process: - This process is intended to break the simple carbs down so they are more easily digestible . It creates “fermentable” sugars which is why beeer makers germinate their grains – to convert the sugars into a form that is more easily used during fermentation. . Germination alone does help with flatulence. In addition, Vitamin content becomes more bioavailable.
- Use one ounce (2 Tab) of 3% H202 for every 8 cups water to soak the grain/seed or legume - This does two things: Oxygenates the grain/seed/legume to encourage quicker germinationn AND Sanitizes the aflatoxins (cancer-causing fungus/mold that comes from the soail and grows as part of the plant) , neutralizing them
- Drain off and throw out Soaking water – Especially since large bean water such as navy, red kidney bean, white Italian bean, black bean . Etc, have toxic chemicals in them which MUST be HEATED to be inactivated. Note: small beans such as lentil do not have the toxic chemicals in them, therefore, heat inactivation is not crucial - this is why directions in the Dosa recipe saves and uses the soaking water.
- Place the bean/seed/grain into a strainer with good air flow (lots of good holes -not just a little design - open to the air) . (Bamboo strainer/baskets are ideal) Plastic is fine and better than metal which “burns”. Can leave on the counter – no need to refrigerate.
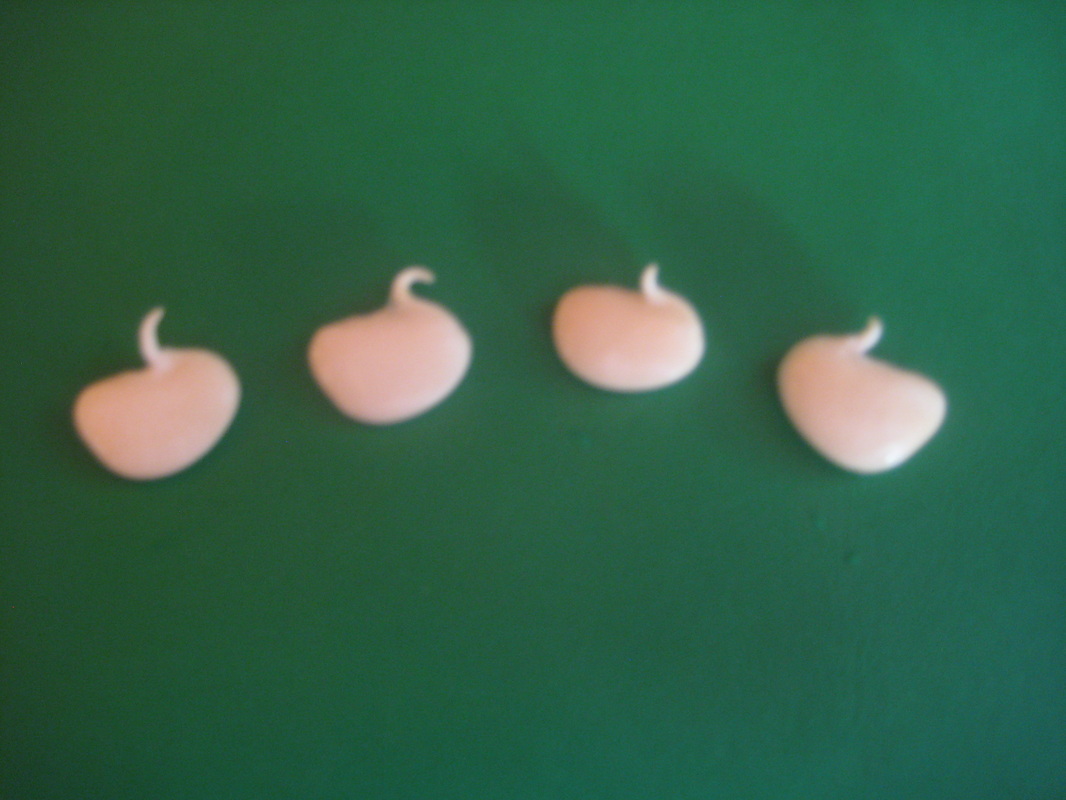
- Rinse every 2 to 3 hours with cold water until germination occurs – just until the “root” pops out of the seeds/grain/legume. A short root – even just barely popping out is a good enough evidence that the bean/grain or seed is alive. The root should not exceed 1/3 of the length of whatever is germinated. If the root grows longer than that, the germinating bean is using up far too much nutrition from the original food – not having enough nutrition remaining for humans - And will turn bitter. Use cold water since heat builds up in the middle which is a breeding ground for mold and bacteria. Although no need to refrigerate during this process. Also , do not need to rinse during night.
- Cook or Ferment for your own Purpose - Cook time will be reduced
Fermentation Process: - This process takes the nutrients to one step beyond germination and creates lactic acid bacteria, enzymes and all the other benefits of fermentation that germination doesn't create. For example, Inflammatory Omega 6 EFA are converted into non-inflammatory , beneficial short chain fatty acids.
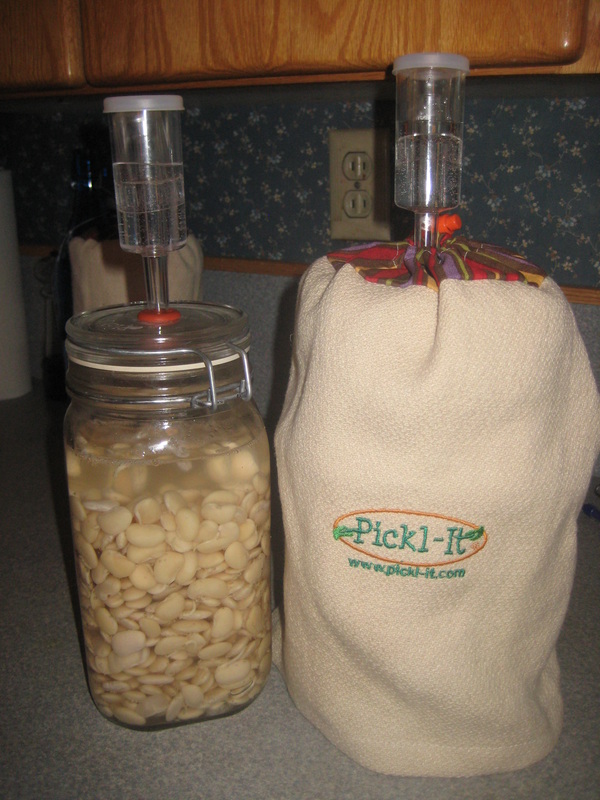
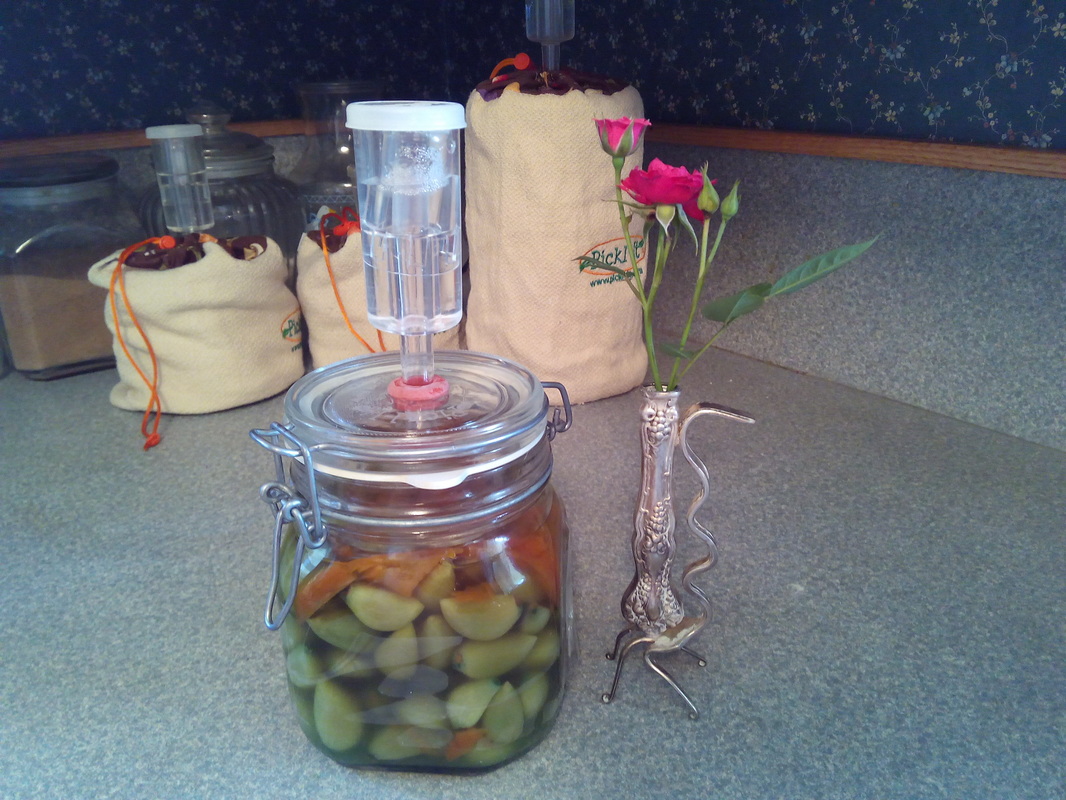
- Place Drained, Germinated Beans in the Pickl-It.
- Cover to shoulder of Pickl-IT with a 1% brine
- Latch Pickl-It, insert airlock, fill with 1 ½ Tab water, put cap on airlock, and cover with towel.
- Leave to ferment on counter for 12 to 24 hours.
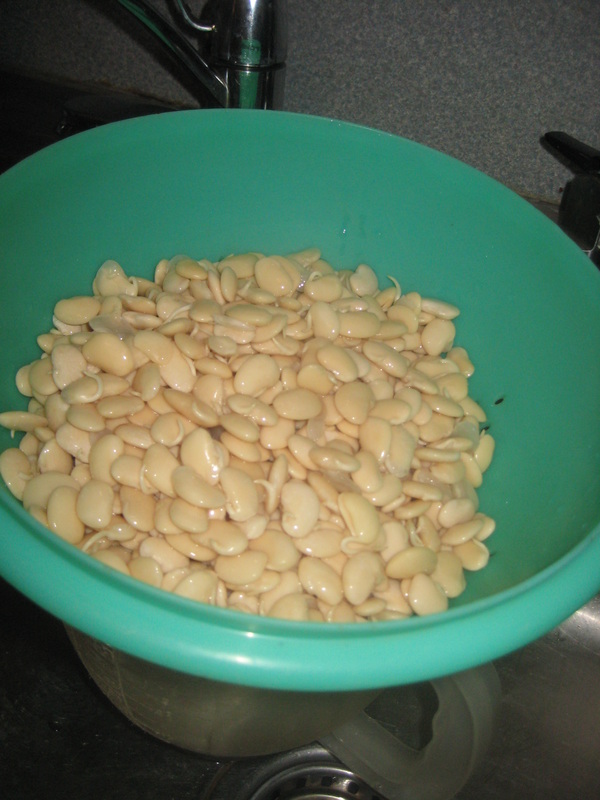
- Drain and Throw out Fermenting water.
- Cook Beans till soft – will take less time - May want to cook your vegetables and have them soft before you add the germinated/fermented beans to the soup.
 RSS Feed
